Let’s begin.
Password-Protect a Word Document in Mac
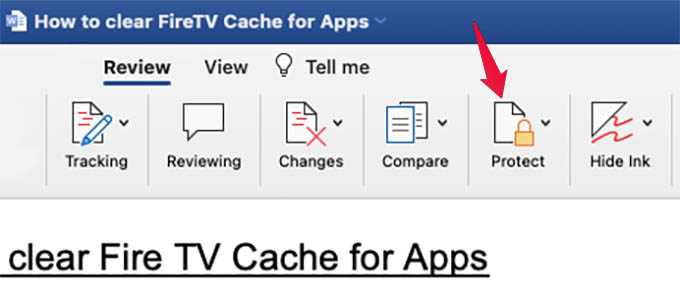
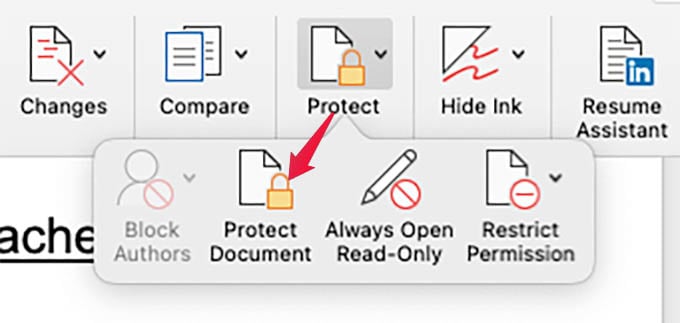
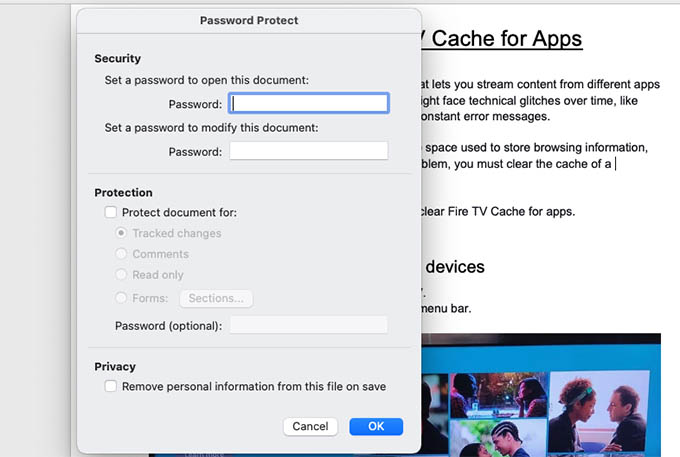
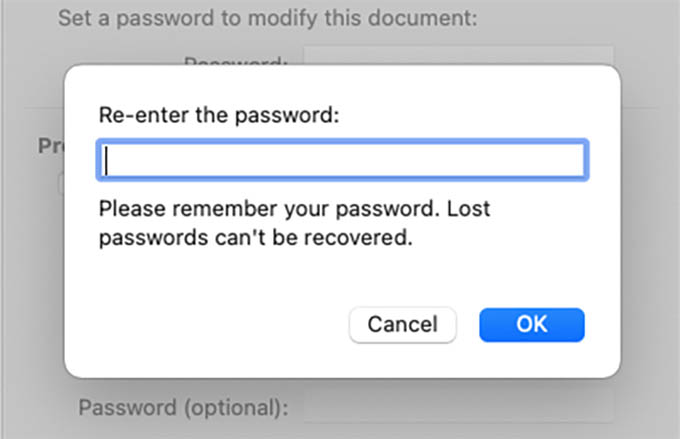
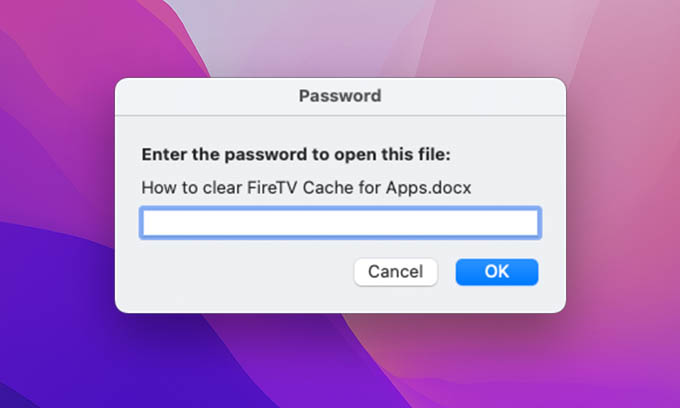
If you are using Microsoft Word for any word processing jobs, the task is easy. You can directly put a password on to your Word file right from the MS Word app. Let’s see how. First, open the Word document in the Microsoft Word app or create a new Word Document that you want to protect with a password. If you notice at the top, you can see the document is in the “Home” tab. You have to go to the “Review” tab next. There, among other menu options, you will see the “Protect” option. Click on it. Choose “Protect Document” with a padlock icon. A window will pop up with the fields to enter the password for your Word document. You can set separate passwords for opening and modifying the document. Then click “OK.” You will be asked to re-enter the password to make sure you remember it. Do it and click “OK” again. Now you are all done and the Word Document file is encrypted with the passcode you entered. If you try to open the document again, you will get the message to enter the passcode to open it and see. You can now share the password-protected word doc file with anyone without fearing others would access it without your permission. Only share the passcode with the necessary person and your word doc will be protected the way you want.
Δ